Why Use a Stereo Microscope?
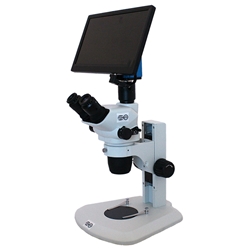
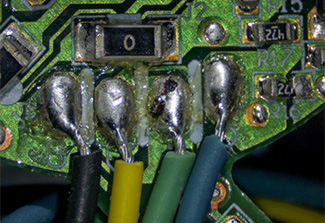
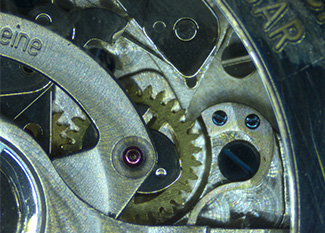
 A stereo microscope provides critical advantages over naked eye inspection for quality control.
- Magnifies surface details 10-40x larger than visible to human eye.
- Creates a 3D view of surface parts.
- Allows precise detection of minute defects impossible to see otherwise.
- Provides consistent, objective assessment of quality
- Reduces human error in visual inspection.
Inspection Process for Metal Parts and Circuits
Preparation:
- Clean parts thoroughly to remove any surface contaminants.
- Ensure microscope is calibrated and lighting is optimal.
- Use clean, lint-free gloves to handle sensitive components.
 Examination Technique:
- Position part under microscope at 10-20x initial magnification.
- Systematically scan entire surface in a grid-like pattern.
- Rotate part to view from multiple angles.
- Increase magnification for areas of potential concern.
Defect Detection Criteria:
Look specifically for the following:
- Surface blemishes
- Micro-cracks
- Uneven material texture
- Corrosion signs
- Circuit trace irregularities
- Manufacturing imperfections
Documentation:
- Photograph significant findings under the microscope.
- Record defect location, size, and type.
- Track defect rates for process improvement.
Best Practices:
- Maintain consistent lighting.
- Use proper microscope maintenance protocols.
- Train inspectors in systematic examination techniques.
- Establish clear defect classification standards.
